
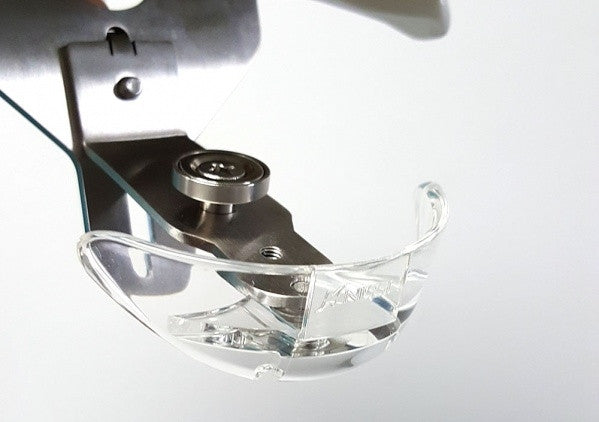
How to install a DARWIN replacement chin
Five parts, three steps. How the clear acrylic chin attaches to the lower stopper tray on your DARWIN head, and the washer order that holds it all together.
The clear acrylic chin forms the lower jaw line of the DARWIN head and holds the rubber sheet that simulates the patient's skin. With regular lab use a chin can crack or wear, and replacing it is a quick job with a screwdriver. The only part that takes any care is the order the washers go on, so follow that step closely.
Make sure you have the right chin
The DARWIN replacement chin comes with or without connectors. Both install exactly the same way, but they take different rubber sheets. If you have not ordered yet, check the compatibility chart on the product page first.
What you need
The replacement chin comes with its own screw and washers. The lower stopper tray stays on your DARWIN head and is reused.

Lost or damaged your tray? The DARWIN lower stopper tray is sold separately.
Installing the chin

Stack the washers on the screw
Slide the spring lock washer onto the screw first, followed by the flat washer, and finish with the star washer. The star washer ends up against the chin, and the spring lock washer sits under the screw head to keep the assembly from loosening with use.
Order from the screw headSpring lock washer, flat washer, star washer.

Start the screw and slide in the chin
Thread the screw partway into the lower stopper tray, leaving a gap under the washers. Slide the edge of the clear acrylic chin into that gap, so it sits between the star washer and the tray.

Align and tighten
Seat the chin so it is properly aligned with the tray, then fully tighten the screw to secure the assembly.
Firm, not forced
Tighten until the chin no longer shifts. Acrylic can crack under too much pressure, so there is no need to crank the screw down.
Next: attach the rubber sheet
With the chin in place, the rubber sheet goes on to simulate the patient's outer skin. Which sheet you can use depends on your chin.
- The chin with connectors takes either the standard rubber sheet or the DARWIN rubber sheet.
- The chin without connectors takes the DARWIN rubber sheet with ear loops only.
If something does not line up, or you are not sure which chin or sheet your head takes, email support@candent.ca with a photo and we will tell you what fits.
Shop the DARWIN replacement chin